Articles
Authors create articles by selecting an article type, writing content, assigning categories, and choosing one or more channels.
Depending on the article type, several fields may be available for different types of data.
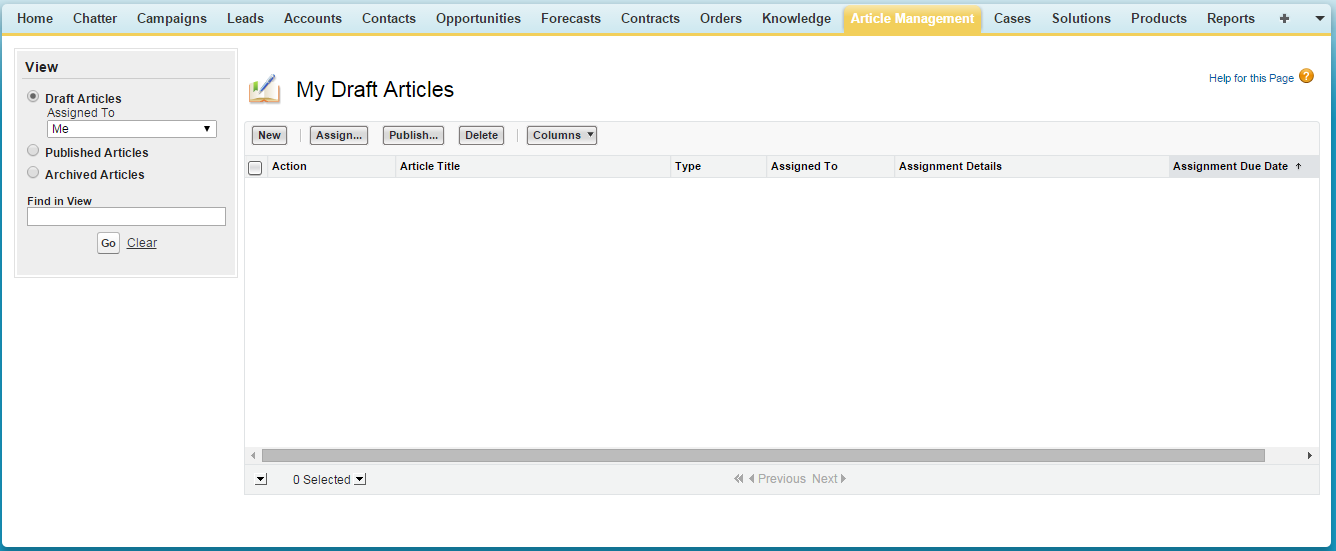
Managing Articles
In Article Management tab, managers of the article can create new articles and find and manage existing products
in all phases of the life cycle of knowledge:
*. Create and save a new article.
*. Reassign the article to a editor, translator, critic, or any other employee necessary.
This individual can reassign the article the same number of times as essential until the content is prepared for distributing.
In the event that an approval procedure is set up for the kind of the article, you or the individual you reassign the article submitted for approval.
The article is sent to the proper approver or gathering of approvers , who either support or reject it.
*. Distribute the finished draft to at least one channels, depending upon the crowds you've arranged:
the Articles tab in your Salesforce organization, a customer portal, a partner portal, or a public knowledge base.
You can plan the article to be distributed on a future date.
*. Refresh the article as required. While altering a distributed article, you can either expel it from publication
so that the first is no longer display to users, or leave the first distributed and
work on a duplicate until you're prepared to replace the first with your refresh.
*. Archive the article when it is old to expel it from publication.
Similarly as with distributing an article, you can archive instantly or on a future date.
*. Erase the article as required, or transform it into a draft and start another publishing cycle.
To create articles
1. On the Article Management tab or from the Articles related list within a case, click New.
2. If your knowledge base supports multiple languages, choose the language you're using.
3. Choose an article type, enter the article title, and click OK.
4. Edit the article's fields, and select a validation status. If your article contains a rich text area field you can add some formatting such as bulleted lists, links, and images.
5. In the Categories area, choose the categories to associate with your article:
a. Click Edit next to a category group to open the category selection dialog box.
b. In the Available Categories list expand the category hierarchy to select a category.
c. Click Add to move a selected category to the Selected Categories list—you can have up to 8 data categories from a data category group assigned to an article.
d. Click Ok.
6. In the Channels area, select where your article will be available once published:
a. Internal App: Salesforce users can access articles in the Articles tab depending on their role visibility.
b. Customer: Customers can access articles if the Articles tab is available in a community or Customer Portal.
Customer users inherit the role visibility of the manager on the account.
In a community, the article is only available to users with Customer Community or Customer Community Plus licenses.
c. Partner: Partners can access articles if the Articles tab is available in a community or partner portal.
Partner users inherit the role visibility of the manager on the account.
In a community, the article is only available to users with Partner Community licenses.
d. Public Knowledge Base: Articles can be made available to anonymous users by creating a public knowledge base using the Sample
Public Knowledge Base for Salesforce Knowledge app from the AppExchange.
Creating a public knowledge base requires Sites and Visualforce.
e. Your own website : Articles can be made available to users through your company website.
7. Click Quick Save to save your changes and remain on this page. Alternatively, click Save to save your changes, close the article, and go to the Article Management tab.
8. Optionally:
a. Create an assignment for a user to edit or review the article.
b. Publish the article.
c. Submit the article for approval.
If you have the “Publish Articles” article action and an approval process is set up for an article, you'll see both Publish and Submit for Approval buttons.
Article Types
You can indicate article types to as custom holders for your articles.
There is already a type defined for each article that determines its content and structure.
Administrator characterize article types by making custom fields to catch article information, gathering or rearranging the fields as required on the layout,
and picking an article-type format.
You can change the appearance of the layout according to the viewers of the published article using article type template.
There are many templates present in article type template.
According to the need administrator can choose unique templates for different audiences and article types.
There are two standard formats for article-type templates that are provided by Salesforce, Tab and Table of contents.
You can also use visualforce to create custom templates.
The first step when setting up Salesforce Knowledge is to create one or more article types.
You cannot enable Salesforce Knowledge until at least one article type is created.
When creating an article, the author must select an article type.
Article types, such as FAQs and Tutorials, provide the format and structure to control how an article displays for each audience, known as a channel.
For each article type you can create custom fields, customize the layout by adding or removing sections and fields, and choose a template for each channel.
You can also create workflow rules and approval processes to help your organization track and manage article creation and publication.
To create an article type:
1. From Setup, click Customize -> Knowledge -> Article Types.


2. Click New Article Type or edit an existing article type.
3. Fill in all the fields
4. Click Save.
5. On the article type detail page, complete the following information:
a. In the Fields related list, create or modify custom fields as needed.
b. In the Fields related list, edit the article-type layout as needed to rearrange fields and create sections.
c. In the Channel Displays related list, choose a template for the Internal App, Partner, Customer, and Public Knowledge Base.