Create a Community
Follow the below two steps to create a community in Salesforce:-
1. Enable Salesforce Communities.
2. Create a New Community.
Steps to Enable Salesforce Communities:
1. From Setup, enter communities in the Quick Find box, then select Communities Settings.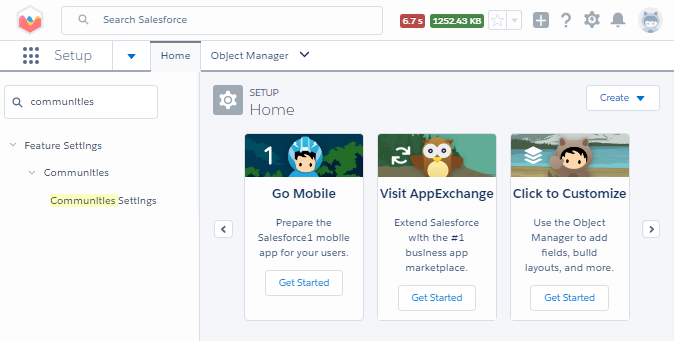
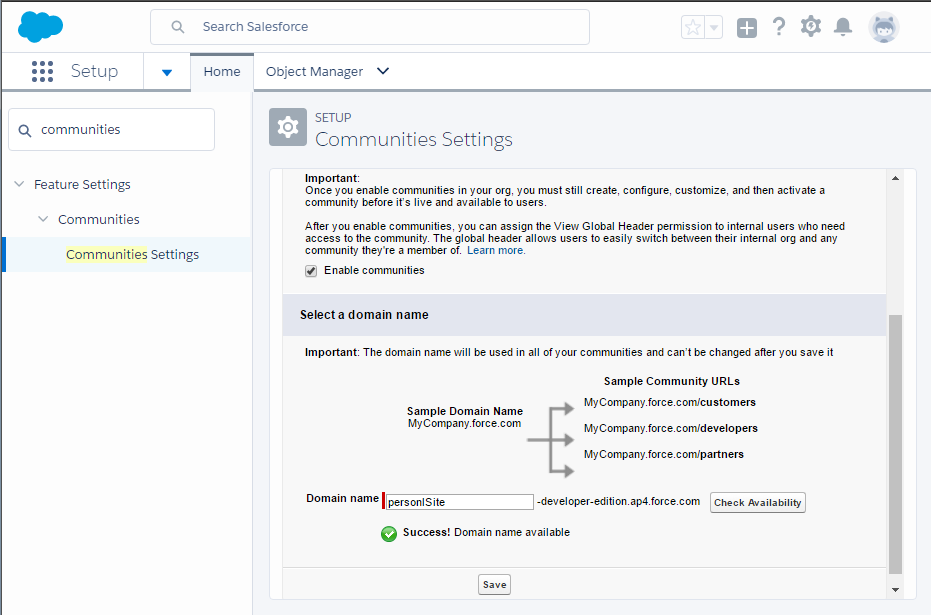
2. Check Enable Communities. (No action necessary if already checked.)
3. Enter a unique Domain Name if it is not already set.
Note:Make sure to use the correct domain name because the only way to change this domain is to open a support case with Salesforce. Additionally, you want your community site URL to be as short and simple as possible, as your field officer will need to type this after the application is initially downloaded. For that same reason, using punctuation in your URL's is highly discouraged.
4. Click on Check Availability to check domain name is availabel or not.
5. Click on Save.
6. Click OK on alert or confirmation pop-up window.
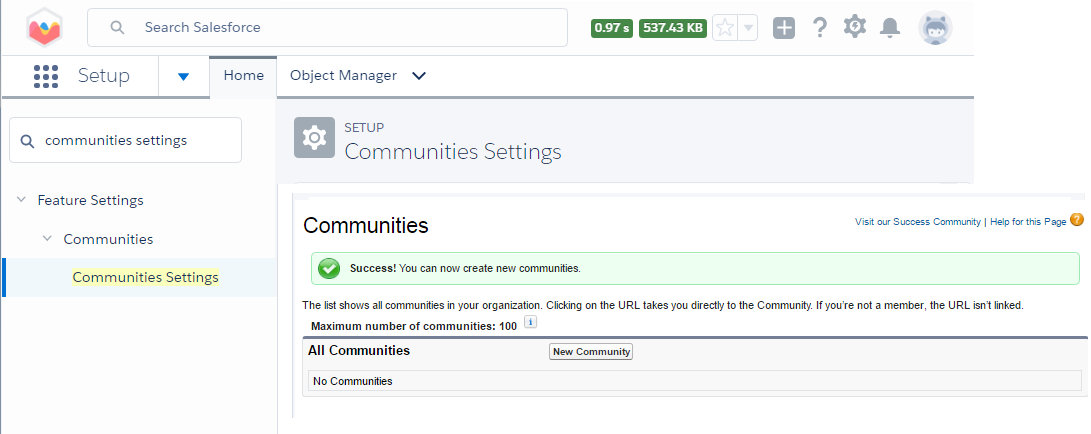
7. After clicking on OK button, You should see this success message:
Steps to Create a New Community:
1. From Setup, enter communities in the Quick Find box, then select Communities Settings.2. Click New Community button.
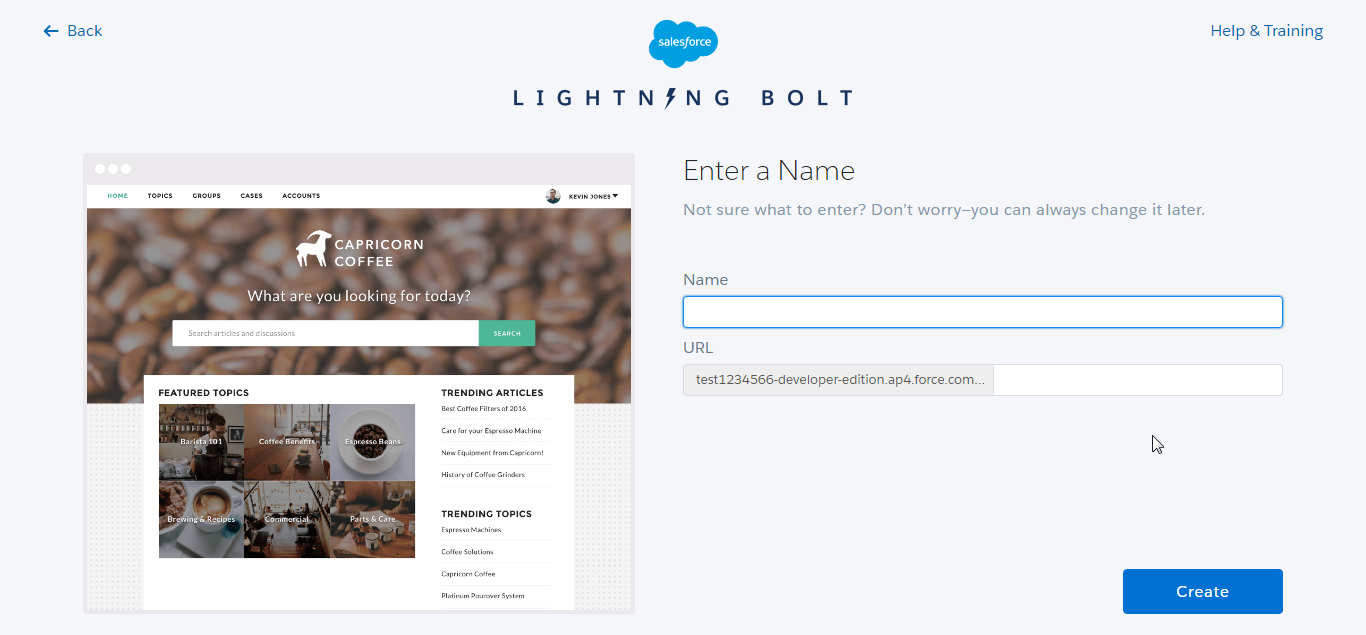
3. Choose a Template.

4. In Create Community window, enter 'your community Name' for Name.
5. Complete the URL with 'Your Community Name'.
6. Click the Create Community button.
7. A success message will appear. Click the Go to Community Management button.
Note: If the page does not load, try logging out of your session and logging back into Salesforce.