Capturing Cases from Customer Emails
Setting Up Email-to-Case
Set up Email-to-Case routing addresses and make sure that emails sent to routing addresses are converted to cases .
1. From Setup, enter email-to-case in the Quick Find box, then select Email-to-Case.
2. Click New, from the Routing Addresses related list.
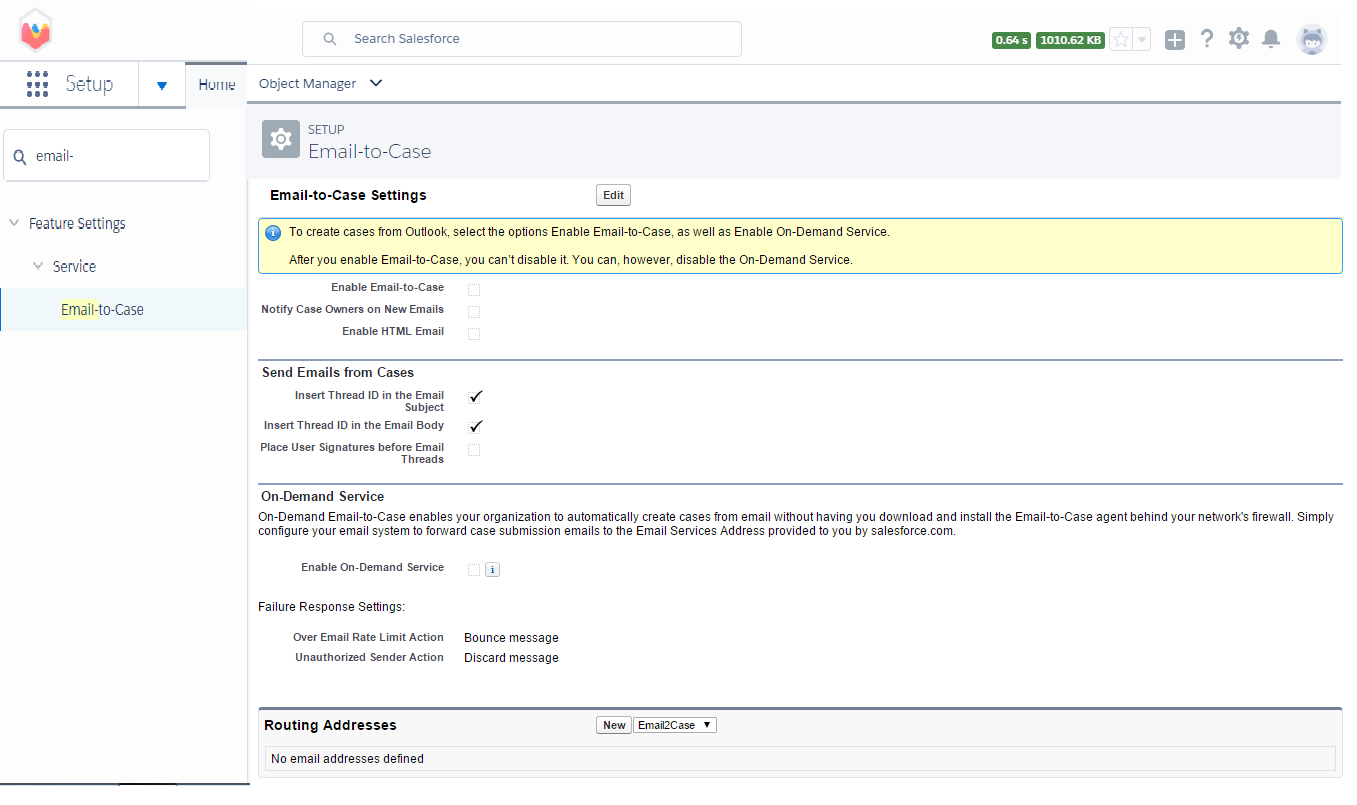
3. Enter the routing address settings.
When a customer sends an email to this address routing , a case is created in the organization where the subject of the email
becomes the case subject and the message body becomes the case description .
4. Click Save to save the routing address settings.
5. Click Verify next to the email address. A verification email is immediately sent to the new routing
address, which includes a link that can be clicked to complete the verification process.
6. Click Continue.
7. In your email application , find the verification email and follow the instructions to verify the email address .
Enabling Email-to-Case or On-Demand Email-to-Case
Turn Email-to-Case or On-Demand Email-to-Case for your organization.
1. From Setup, enter email-to-case in the Quick Find box, then select Email-to-Case.
2. Click Edit to enable Email-to-Case.
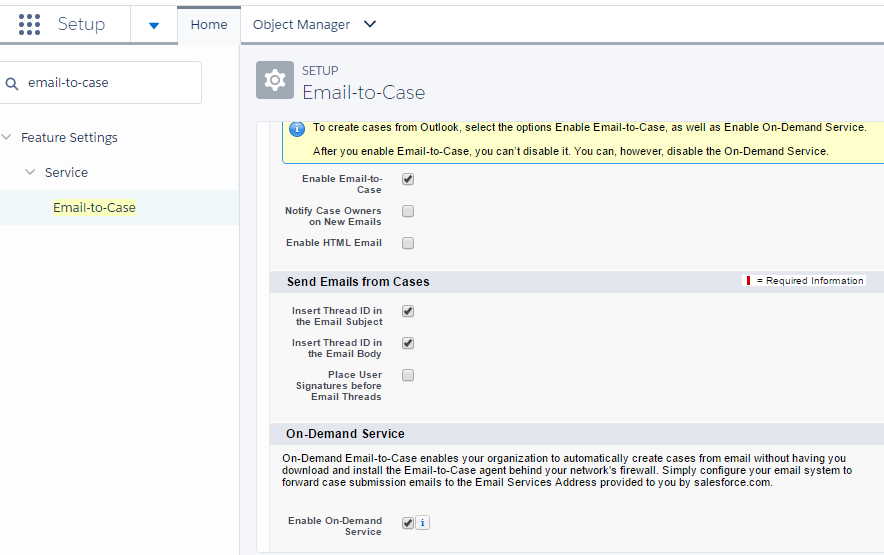
3. Select the Enable Email-to-Case checkbox.
4. Select the Enable On-Demand Service checkbox to enable On-Demand Email-to-Case.
5. Click Save.
6. Add the Emails related list to the case page layouts.