Capturing Leads from Your Website
Web to lead is a Salesforce standard feature that enables the user to generate lead records. It is a simple process and an easy way to integrate a website to Salesforce, one can use a system generated code in the HTML of website and that's it.
A very useful example for Web to Lead in salesforce is a Contact us form in a website, where the Name, Address and other information will be stored in the Lead fields when the record gets created.
Setting up Web-to-Lead
1. From Setup, click Feature Settings> Marketing > Web-to-Lead.
2. Click Edit to enable or modify the following Web-to-Lead settings:
3. Click Save.
4. To create a Web-to-Lead form, click Create Web-to-Lead Form on the Web-to-Lead Setup page.
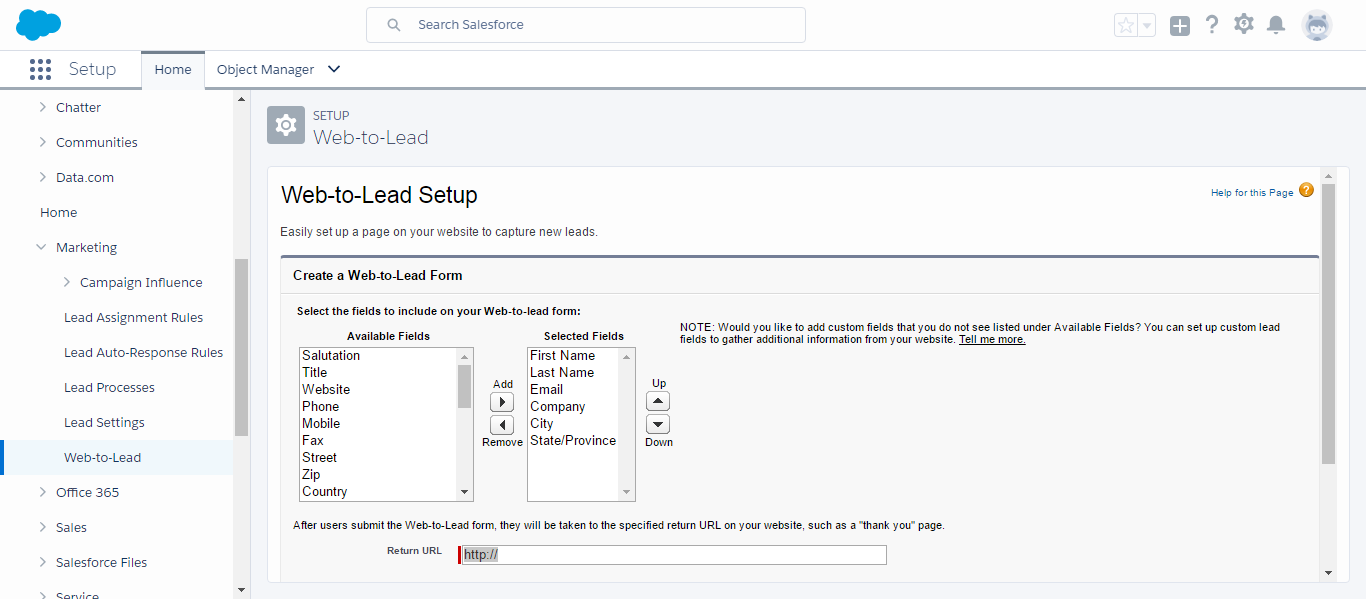
5. Select fields to include on your Web-to-Lead form. Use the Add and Remove arrows to move fields
between the Available Fields list and the Selected Fields list, and use the Up and Down arrows to change
the order of the fields on your form.
6. If your organization uses the Translation Workbench or has renamed tabs, select the language for
the form labels displayed on your Web-to-Lead form. The source of your Web-to-Lead form is always in your
personal language.
7. Specify the complete URL to which users should be directed after they submit their information.
8. Copy the generated HTML code and provide it to your company's webmaster to incorporate into your website.
9. Click Finished.
Setting up Web-to-Lead Auto-Response Rules
You may want to send incoming leads different email responses depending on their attributes.
Set up Web-to-Lead auto-response rules that contain the attributes a lead must have to receive an email template.
Auto-response rules can have multiple rule entries but only one Web-to-Lead auto-response rule can be active at a time.
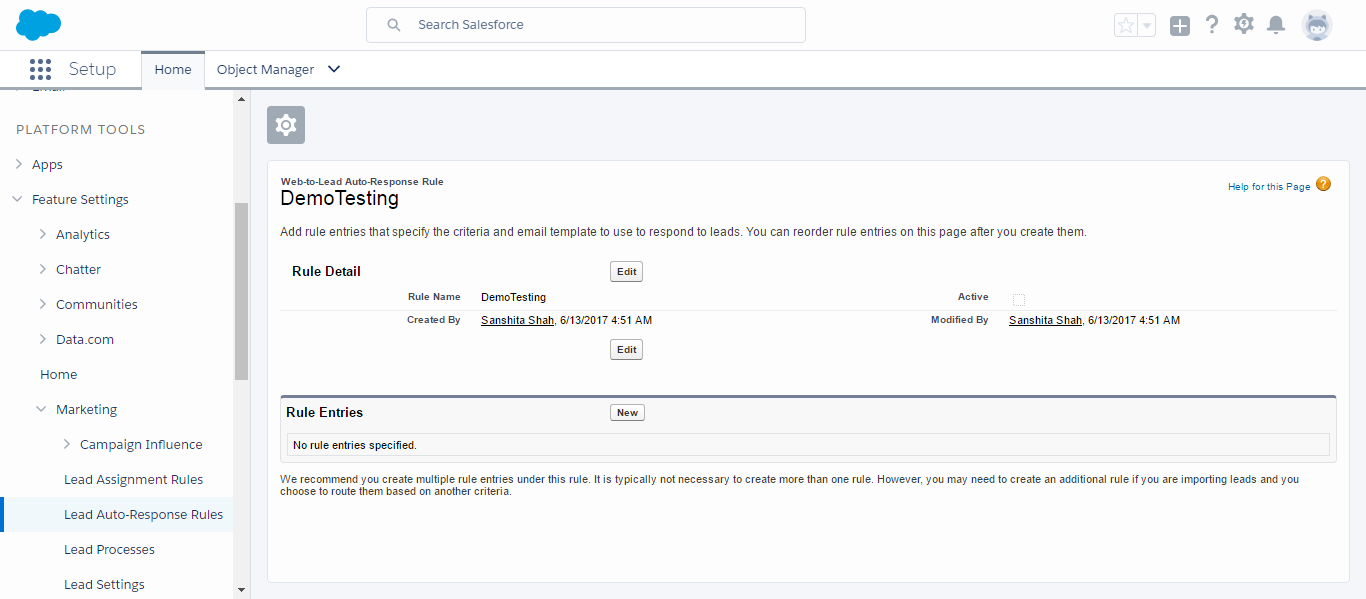
Detail page for Auto Response Rule
To create new Auto Response Rule

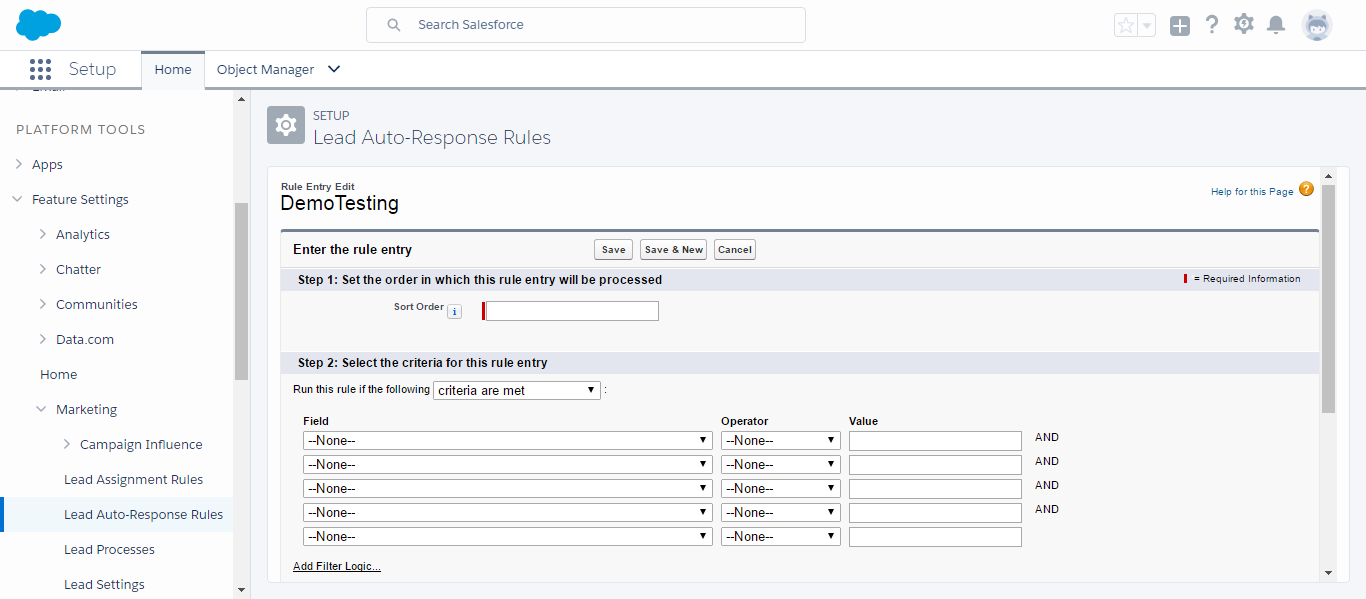
To create new Rule entry
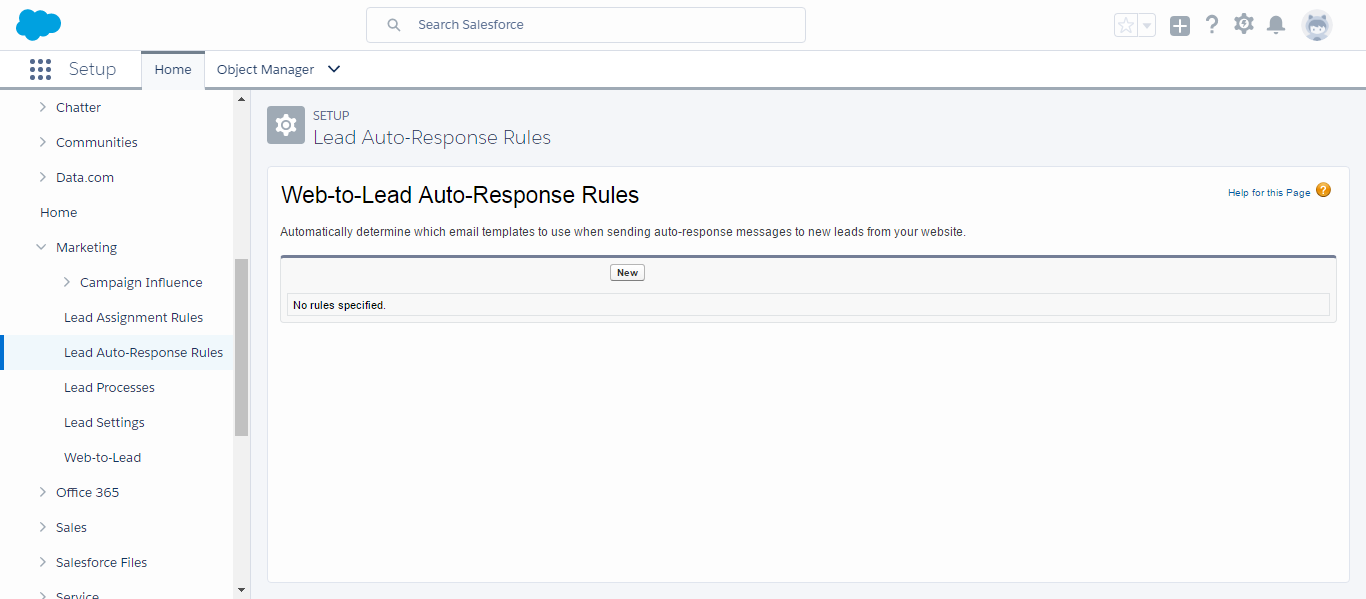
To set up Web-to-Lead auto-response rules:
1. From Setup, click Feature Setting > Marketing > Lead Auto-Response Rules.
2. Click New.
3. Enter a name for the rule.
4. Select the Set this as the active Web-to-Lead Auto-Response rule box to make the rule the active auto-response rule. You can only have one active auto-response rule, but the rule can contain many rule entries.
5. Click Save.
6. Click the name of the rule that you just created.
7. Click New in the Rule Entries section.
8. Enter a number to indicate the order the rule entry should be processed in relation to other rule entries.
9. Select the attributes a lead must meet to receive this template.
10. Enter the email name and address of the sender.
11. Choose an email template to use when the selected attributes apply.
12. Click Save.