Chatter
Chatter in Salesforce provides the functionality to collaborate with many people. By using Chatter one can easily connect to their coworkers and share the information accordingly. It is easy to create the groups like Facebook public groups or private groups to connect with your coworkers by inviting them and one can also share comments and images to other's feed.
By default chatter header is enabled in Salesforce org, however if it is not enabled then follow the following steps for this.
1. You should have the customize user permission .
2. Go to setup -> customize-> setting-> enable chatter under the chatter
Chatter provides finctionality as explained below.
1. Post
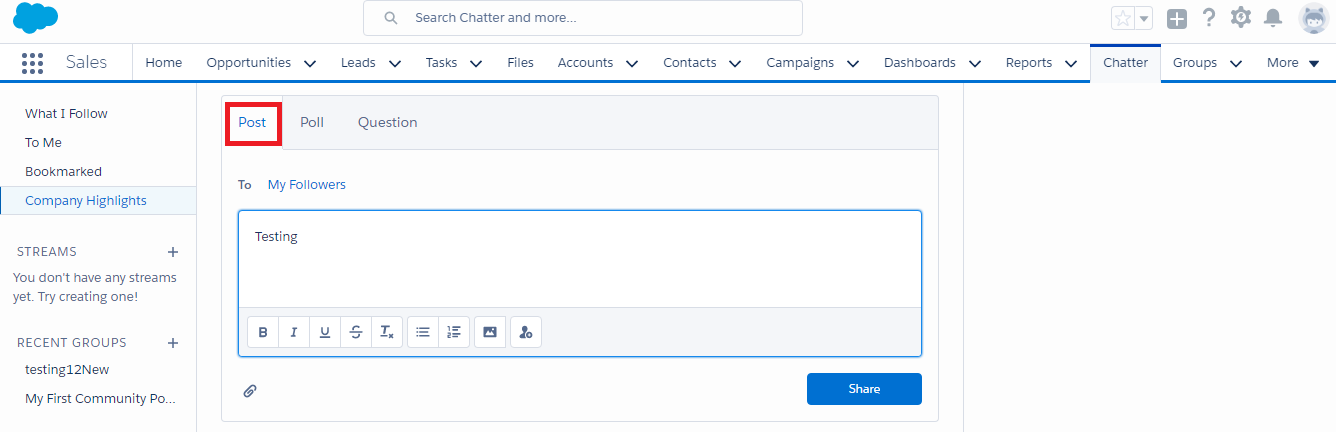
What are you working on ? : Post the data here you want to share.
To : My Followers and A Group : Select the one you want to share the post with.
Share : Click shar once you are done.
2. Poll : Polls are the good strategy for establishing a survey in Salesforce.
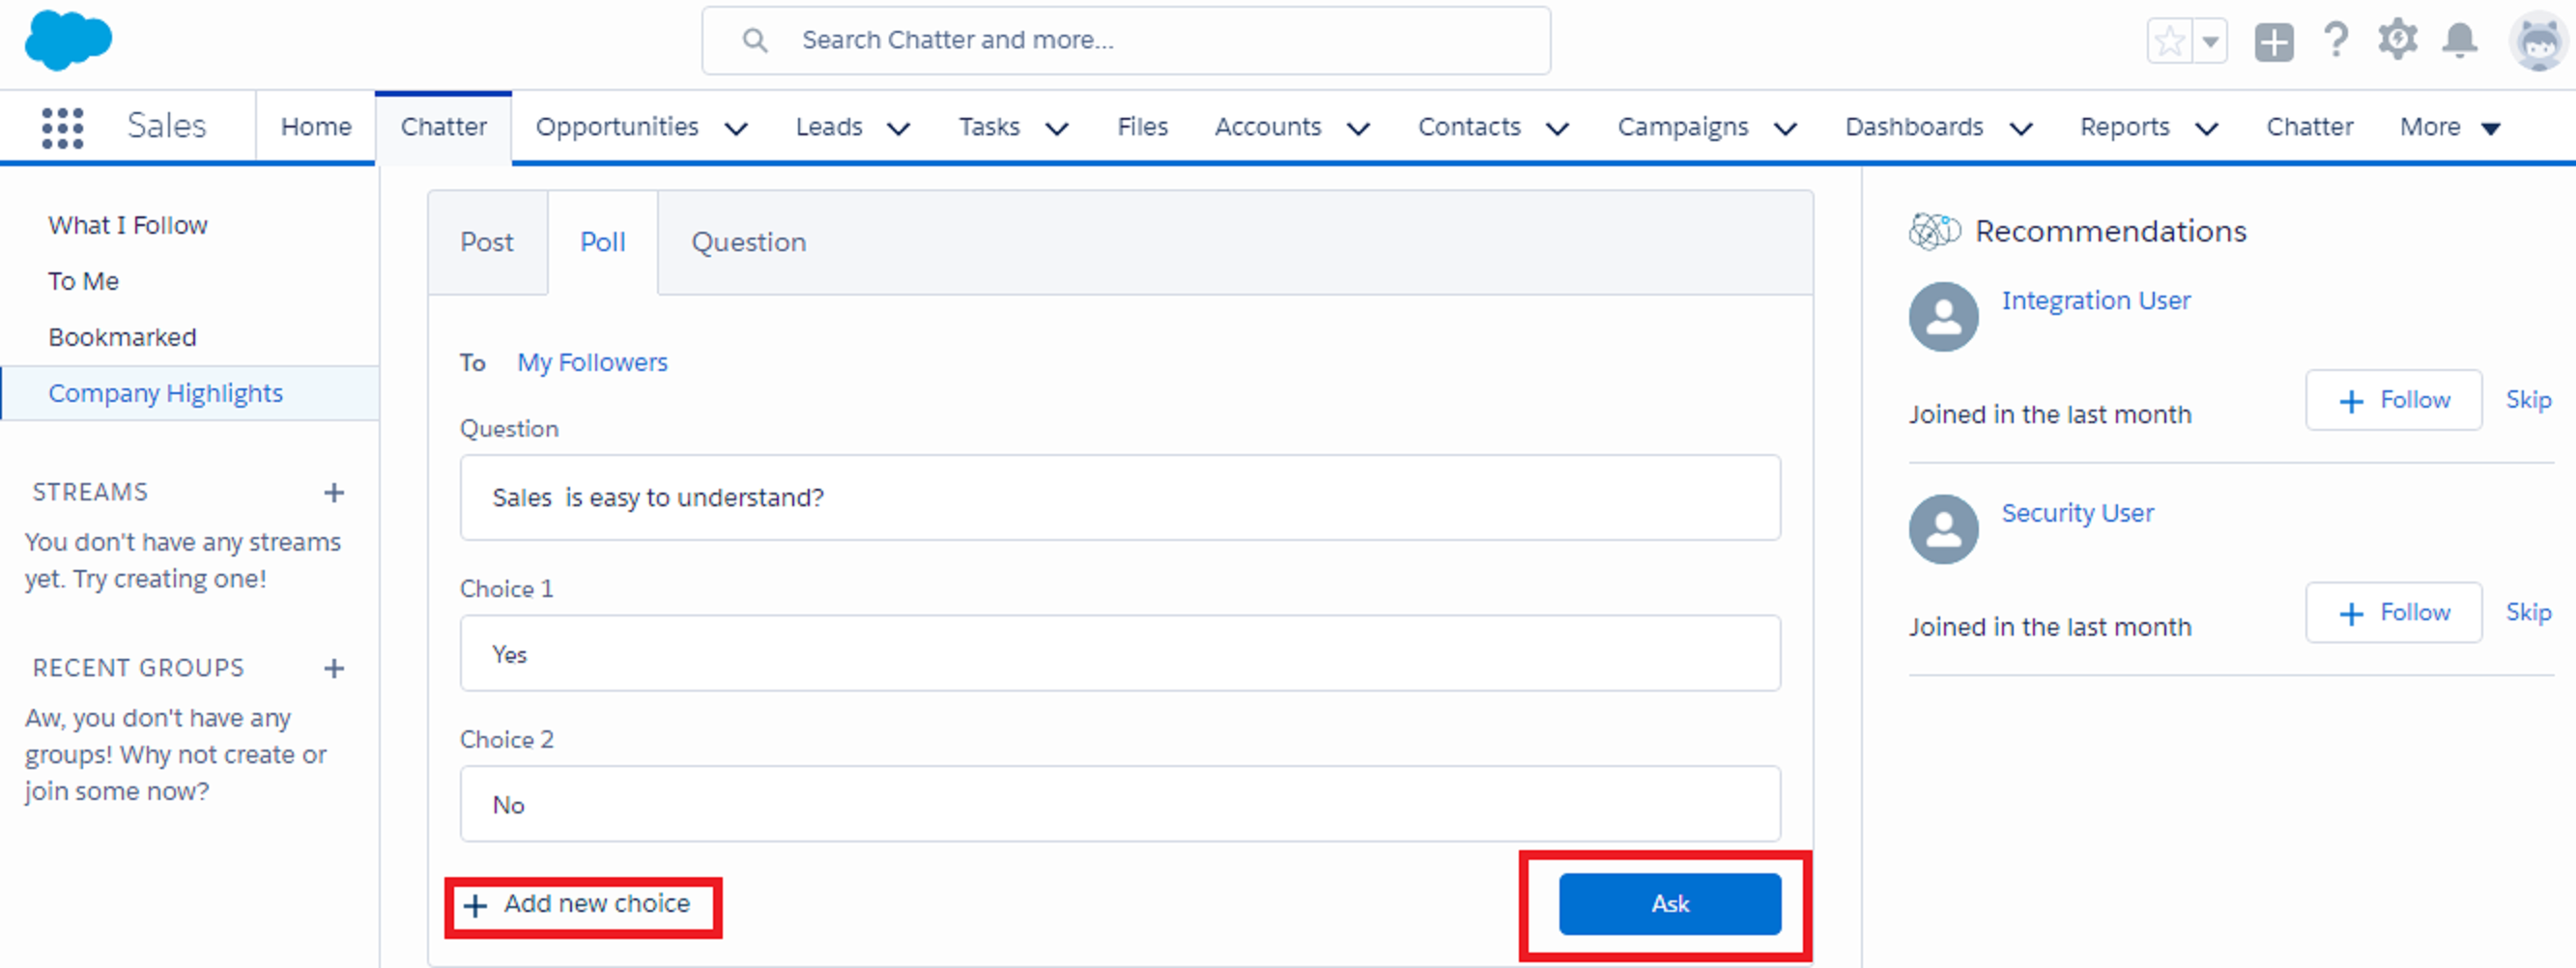
*. When you create a poll, you can add up to ten choices.
*. When voting on a poll, you can only select one choice.
*. Polls are anonymous. You can see how many people voted, but you can’t see who voted.
*. Click Refresh to see the latest poll result and the number of votes that were cast.
*. You can’t repost a poll.
*. People can only cast one vote, but they can change their vote.
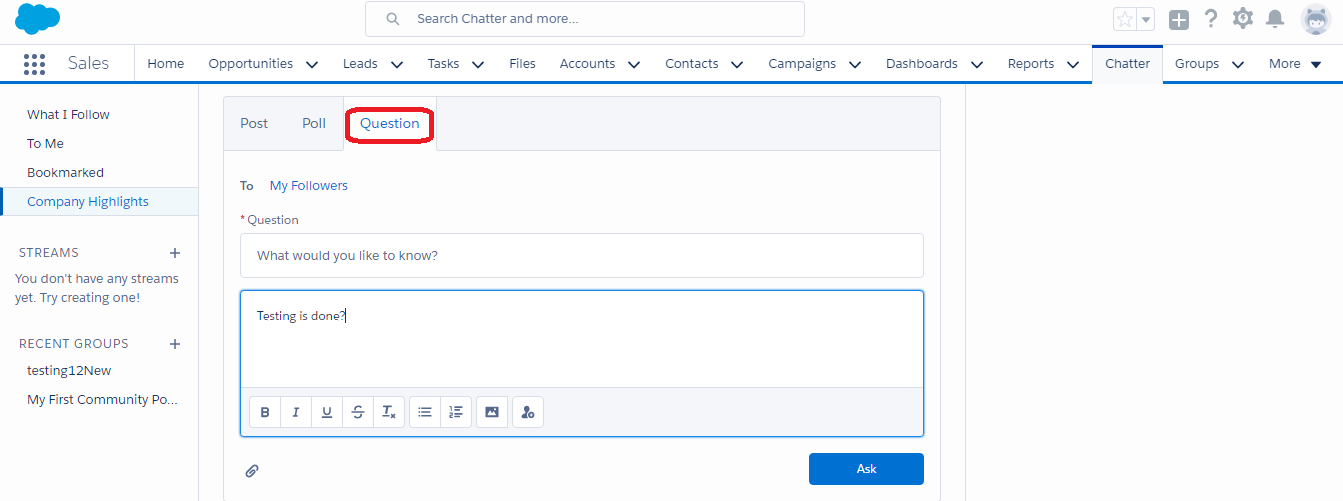
3. Questions: Chatter provides this feature so that users in Salesforce can ask the questions in Chatter feed and in the groups.
Groups
Chatter in Salesforce provides the functionality to create a group . In the group we can add the members and these members can communicate to each
other by using groups.Thse groups can be public or private.If the group is public then any member can see the comments ,posts and files
and if the group is private then only group members are able to see the comments ,posts and files.You can join up to 300 groups, and your company can have a total of 30,000 groups.
Following are the steps to create a group in Salesforce:
1. Click on the 'plus' icon and then click on the 'New Group' button and enter a group name and description as shown below.
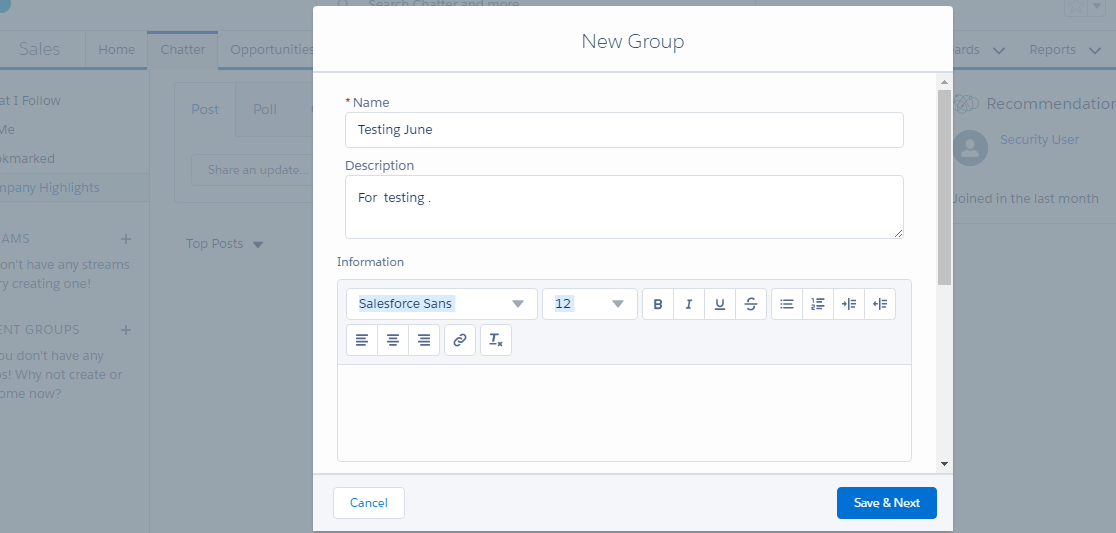
*. Public: Anyone can see and add posts, comments, and files. Anyone can join a public group.
*. Private: Only group members can see and add posts, comments, and files.
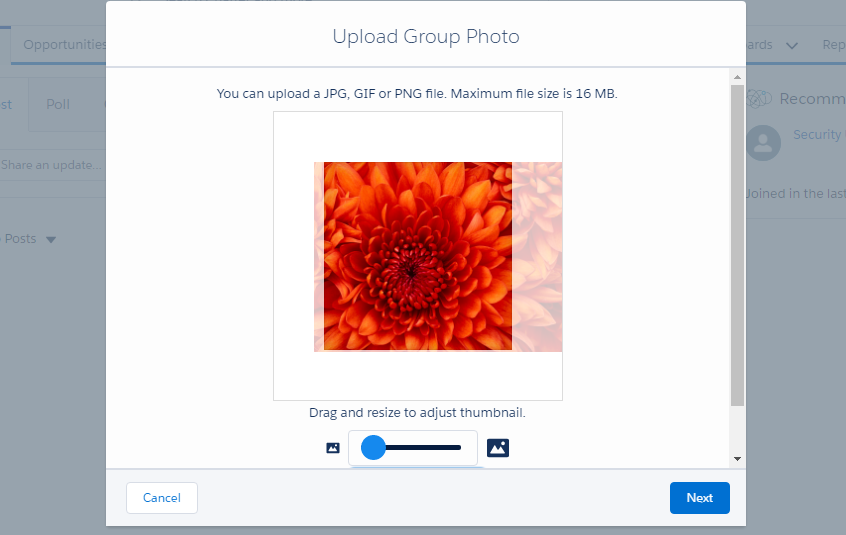
3. You can upload a group photo by clicking on upload image button and also add the members by clicking on ' Add' button.
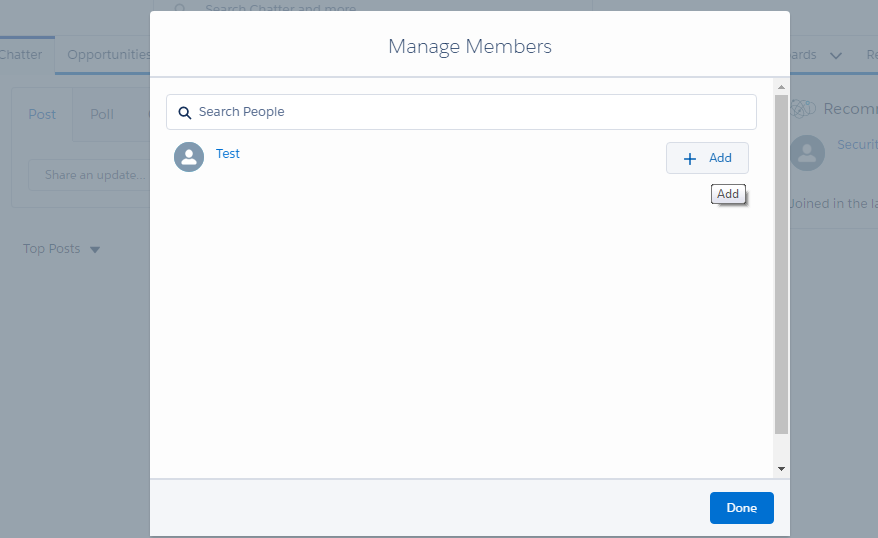
4. Click on the Done button.
5. Now you can see the group you have created.You cal also add new case ,new lead to your group as explained below.
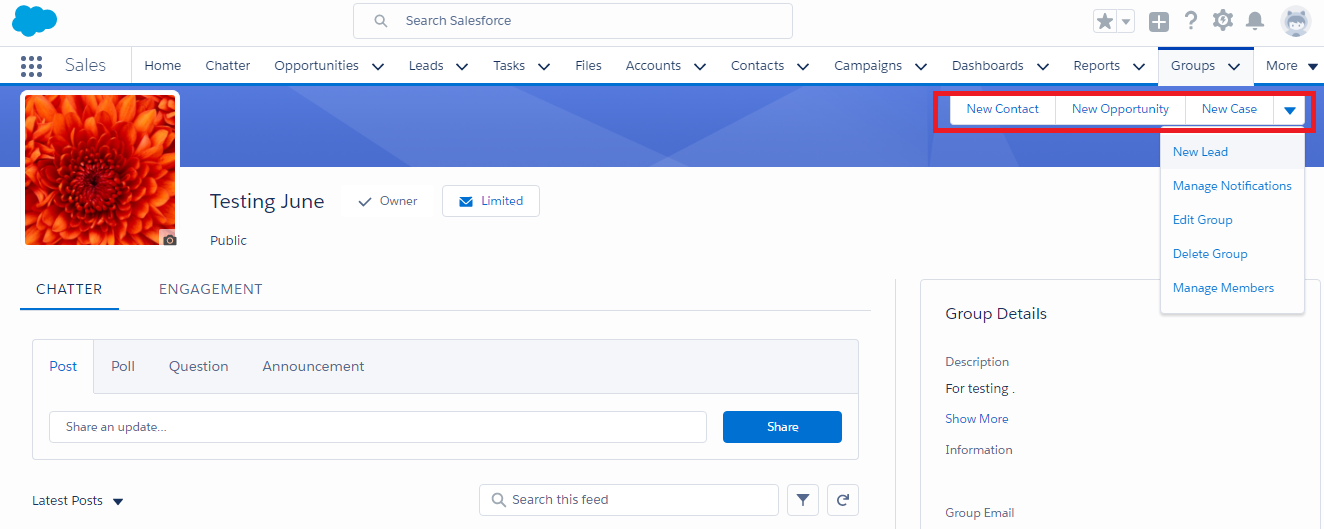
6. You can also upload files in the group by clicking on'Upload File' button.
